In this guide, we’ll show you how to convert HEIC photos to JPG format inside Google Photos. HEIC (High-Efficiency Image File Format) is a space-saving format popular among Apple devices, but JPG (Joint Photographic Experts Group) is still broadly compatible across several platforms and devices. Alternatively, if you using an iPhone you can directly convert HEIC photos to JPG using the files app.
Understanding HEIC and JPG Formats
HEIC is an improved picture format created by the MPEG group that provides greater compression while maintaining image quality. However, there are compatibility concerns when sharing HEIC photos with non-Apple devices or platforms.
JPG, on the other hand, is a universally accepted format known for its compatibility and ease of sharing. Despite its larger file sizes compared to HEIC, JPG remains a preferred choice for cross-platform sharing and compatibility.
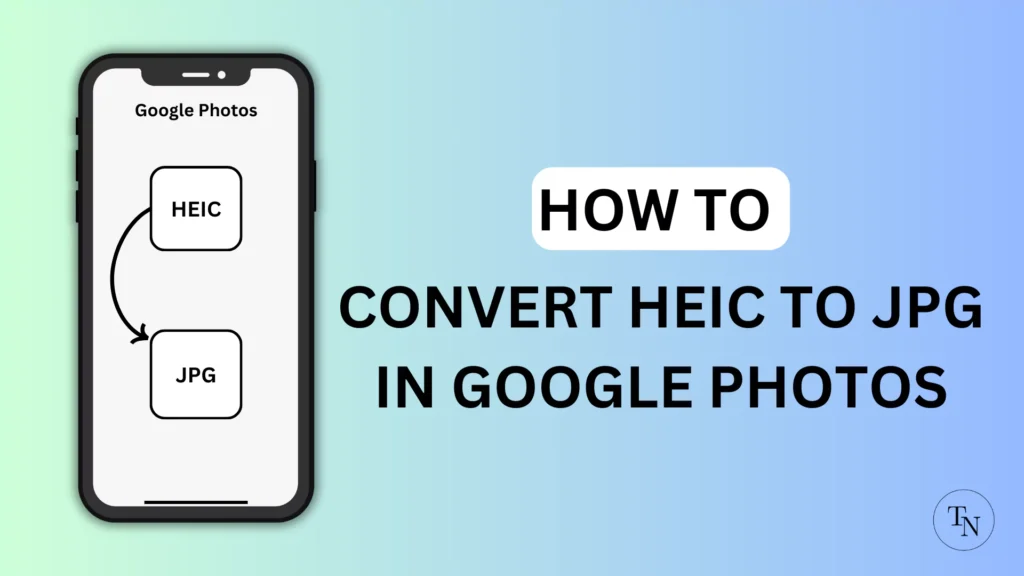
Table of Contents
Why Convert HEIC to JPG in Google Photos?
Google Photos is a popular cloud-based photo storage and sharing platform that supports various image formats, including HEIC and JPG. Converting HEIC to JPG within Google Photos ensures seamless compatibility and accessibility across different devices and platforms, enhancing the sharing and viewing experience.
Steps to Convert HEIC Photos to JPG in Google Photos
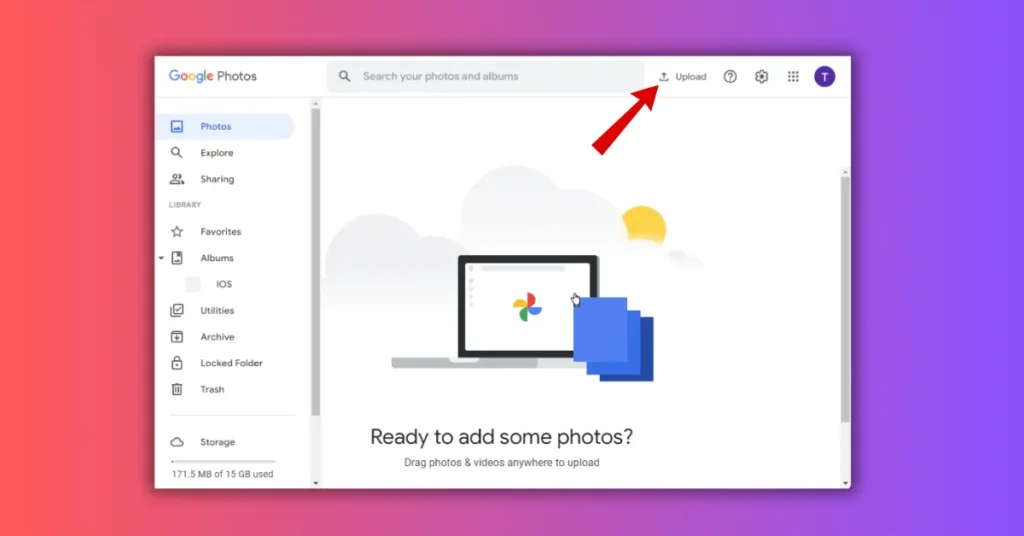
- Access Google Photos: Open your web browser and navigate to Google Photos by visiting photos.google.com on your PC or Laptop.
- Sign In: Sign in to your Google account if you haven’t already done so. Ensure that you are logged in to the correct account associated with your photos.
- Upload HEIC Photos: Upload the HEIC photos you wish to convert to JPG format. Click on the “Upload” button or drag and drop the photos directly into the Google Photos interface.
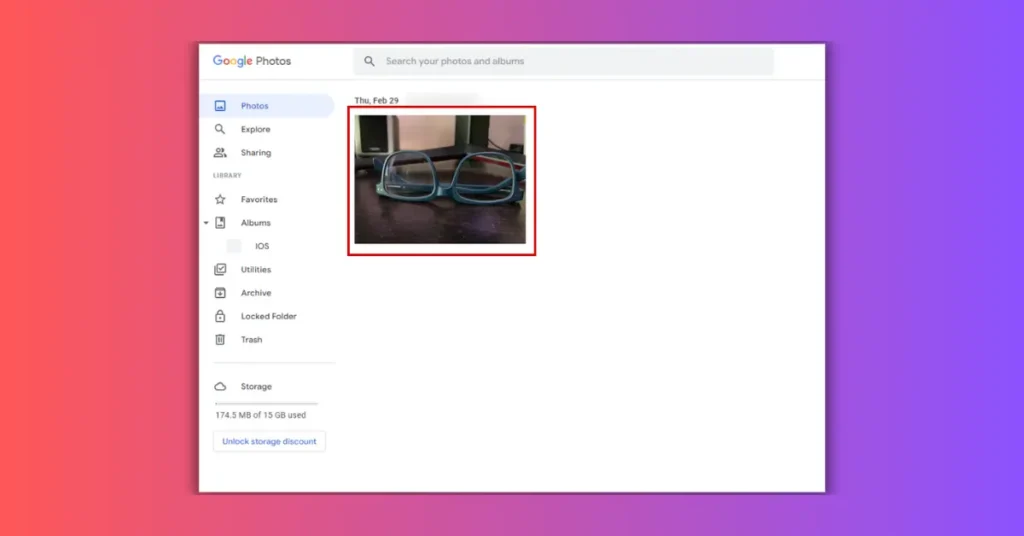
- Select HEIC Photos: Once uploaded, select the HEIC photo you want to convert to JPG by clicking on it. Remember you can only convert one image at a time by using this method.
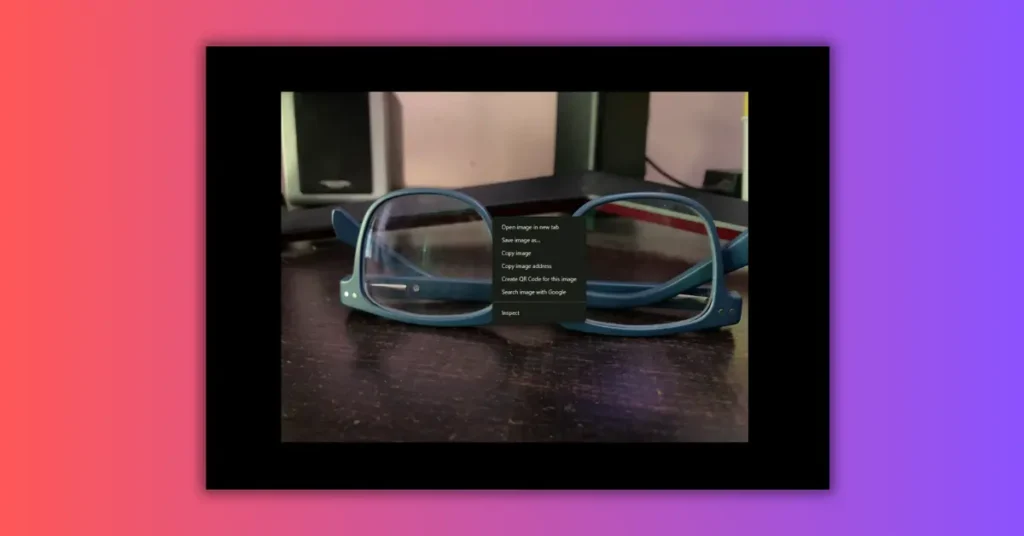
- Preview Photo: The selected HEIC photo will be previewed on your screen. Here is a PRO TIP to download Images in the “Highest possible Quality and Dimensions”. Just Hold the CTRL button on your keyboard and using the mouse scrolling wheel zoom out the image.
- Choose ‘Save Image as’: Now Right Click on Photo and from the dropdown menu, select the “Save Image as” option. Here, the image is successfully downloaded in JPG format with the highest possible quality and dimension on your device.
- Access Converted JPGs: Once the conversion process is complete, navigate to the download location on your device to access the converted JPG photos. You can now share, edit, or use JPG photos across various platforms and devices with ease.
- Results: For comparison I’ve kept both images in one folder. Here you can see that both images have the same dimension and similar quality. The converted JPG photo is slightly smaller in size as compared to the HEIC photo.

Benefits of Converting HEIC to JPG in Google Photos
- Compatibility: JPG format ensures compatibility across a wide range of devices and platforms, making it easier to share and view photos.
- Accessibility: Converted JPG photos can be accessed and viewed on devices that do not support HEIC format, ensuring seamless accessibility for all users.
- Simplicity: Google Photos provides a straightforward method to convert HEIC photos to JPG format without the need for third-party software or additional steps.
Conclusion
Converting HEIC photos to JPG format inside Google Photos provides a quick method for overcoming compatibility issues and improving photo accessibility. Following the method above will allow you to convert and download HEIC photos as JPGs, assuring compatibility and simplicity of sharing across several devices and platforms.
Articles You Might Like: